Ringlock vs. Cuplock: A Comparative Analysis for Modern Scaffolding
Jul 23, 2025
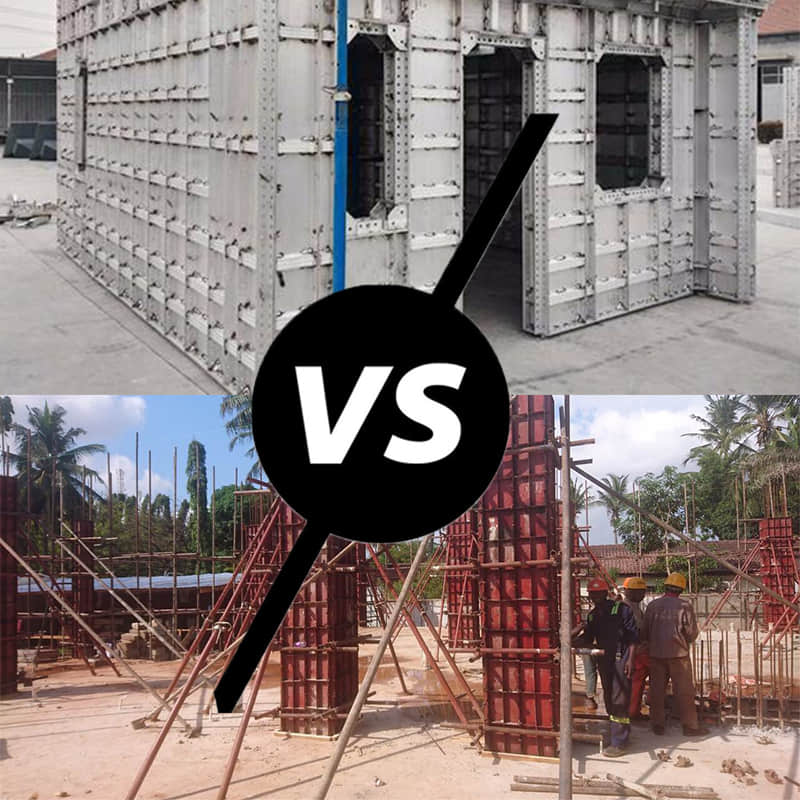
Scaffolding systems are a key part of contemporary construction and industrial engineering infrastructure, allowing work at height to be conducted safely and efficiently. Of all the modular scaffolding technologies available, Ringlock Scaffolding Systems and Cuplock system scaffolding systems are the two most popular and profitable systems and are best distinguished by their performance and versatility. However, no one's favorite system can be determined. Each system has many characteristics that are paramount in its design philosophy, structural performance, and suitable applications. The best choice will ultimately depend on the assessment of the project requirements, as it relates to the key project parameters: project complexity, load capacity, labour costs, and budget.
This document aims to identify and provide an exhaustive and thorough comparison and technical report on the Ringlock and Cuplock scaffolding systems with the intention of providing a helpful professional reference document for project managers and engineers and, those who are involved in making procurement decisions.
Analysis of Core System Principles
While they are both modular systems, the primary distinction between Ringlock and Cuplock is that both modular systems are defined by the locking systems at the node, and that difference defines the efficiency with which they are erected, the flexibility of structure, and the total effect of the systems.
Cuplock Scaffolding: An Efficient and Simple Mature Solution
As a long-established and mature technology, the name "Cuplock" intuitively describes its locking method.
· Main Construction: The vertical standards of the system have fixed lower cups welded at set intervals (spacing typically 500 mm). The ledgers and transoms have indicated blade ends (forged) that can be inserted directly into the lower cup. The upper cup is captive and can be released by dropping and rotating it. The inclined plane of the cup creates wedging action that will clamp all elements at the node and create a reliable four-way connection.
· Capacity Characteristics: Cuplock scaffolding is characterized by simple construction, fewer loose and incidental parts to the system, and intuitive operation. The scaffolding is very quick to erect and dismantle (faster than other methodologies), particularly when using it for larger-scale, regular building facades or structures. As a balanced, rapid methodology, Cuplock scaffolding continues to be used in general construction regularly over an extended period of time.
Ringlock Scaffolding: The Versatile and High-Strength Archetype
Ringlock is a more contemporary system, engineered to handle complex geometries and high load-bearing requirements.
· Core Structure: The system's standards feature a multi-port circular disk, the "rosette" or "ring," welded at 500 mm intervals. This rosette has eight apertures: four larger holes to connect primary ledgers at 90-degree angles, and four smaller holes to accommodate diagonal braces or secondary ledgers at various angles. Component ends feature a cast head with a captive wedge pin. After inserting the head into a rosette aperture, the wedge is secured with a hammer blow, forming an exceptionally rigid and precise multi-directional connection.
· System Attributes: The primary benefit of Ringlock scaffolding is its adaptability. Its potential to connect at multiple angles gives Ringlock Unlimited adaptability to adjust to circular tanks, petrochemical installations, some architectural curves, and large stage trusses without the unnecessary effort.
Multi-Dimensional Performance Evaluation
To facilitate a scientific selection, we will conduct an in-depth comparison of the two systems across several criteria critical to engineering practice.
1. Structural Flexibility and Applicability
This is the most fundamental point of differentiation between the two systems.
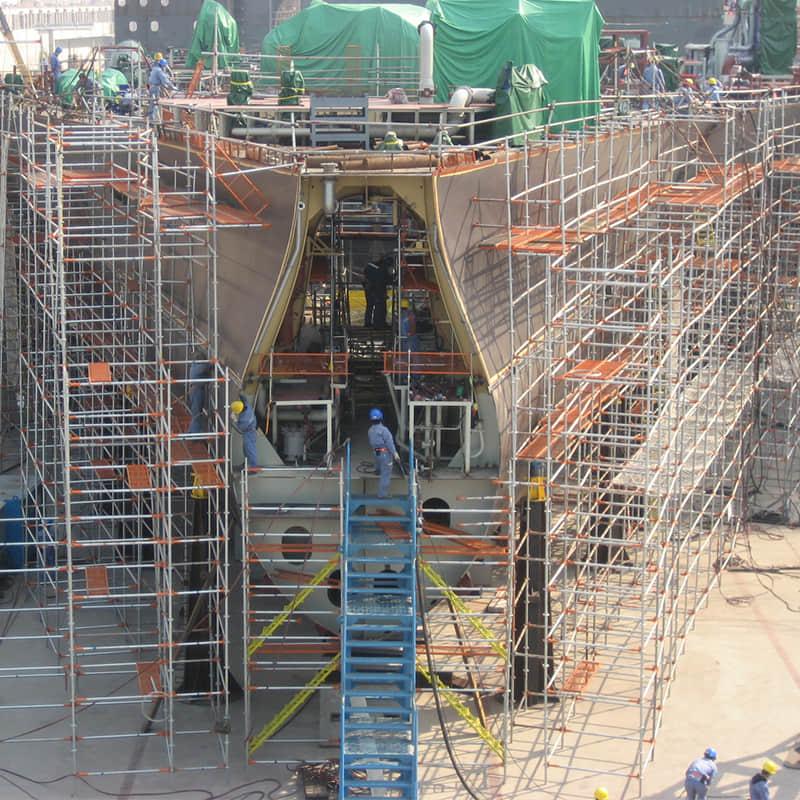
Ringlock: Its flexibility is unmatched due to its 8-port rosette. Ringlock allows easy curved, angled, and polygonal configurations with standard components in the system, eliminating extensive tube-and-fitting work and on-site modifications. Particularly useful for industrial facilities, shipbuilding, large complexes, and other projects with very complicated geometries.
Cuplock: Cuplock is generally designed to be oriented orthogonal (i.e., at 90 degrees). For linear building facades or rectangular treatments, it's awesome, but it is far less efficient when dealing with non-90-degree angles. If you are trying to deal with complicated shapes, you will unavoidably have to augment Cuplock with a slip at one end or the other or both. This just adds to the complication of installing it and likely less efficiency.
2. Erection Efficiency and Labor Costs
Cuplock: In repetitive construction tasks, when construction is standardized, Cuplock is usually quicker to assemble. It's a straightforward "drop and lock" action that requires little training and limited parts means the materials used are more manageable. This generally leads to an increase in labor hours (and labor cost) savings on large, standard construction projects.
Ringlock: With a simple linear structure, the time taken to secure each connection point by hammering a wedge might be marginally longer than Cuplock. However, when it becomes a complex project, the time savings achieved through the ability to adapt it minimize design adjustments and ancillary work, meaning that this minor time difference is more than made up, increasing overall efficiency.
3. Load-Bearing Capacity and Structural Stability
Both systems, when erected correctly, provide a high degree of safety.
Ringlock: Ringlock is a wedge locking up the sides, which means that it creates a rigidly locked node with outstanding shear and moment capacity. The load path through the rosettes and in the direction of member axes is direct and fully efficient, which gives the entire structure exceptional stability. For this reason, it is the preferred option for heavy-duty shoring (i.e., bridge casting, heavy equipment platforms) and high-loading applications.
Cuplock: The Cuplock node is also stable and reliable and is capable of handling the load conditions of most buildings and other construction work (renovations and bridge piers). However, in applications with extreme loads or where exceptional structural stiffness is required, the performance of the node itself would be considered generally subordinate to the performance of the node in Ringlock.
4. Overall Cost-Effectiveness and Return on Investment (ROI)
A cost analysis must extend beyond the initial procurement price to consider the entire life-cycle value.
Upfront Cost: In some circumstances, the upfront buying or renting cost of a Cuplock system may be slightly lower. However, since Ringlock technology is being widely adopted by the scaffolding market and the competition, which brings prices down, in many cases, the price difference is negligible or minimal.
Return-On-Investment: For an engineering company that has a diverse scope of projects within its project portfolio, Ringlock has a clear advantage as far a long-term Return-On-Investment (ROI). The flexibility of the Ringlock system and its versatility mean the entire inventory of a single asset can be used for an expansive range of project types, from the simple to the complex. This increases asset utilization significantly and, most notably, minimizes the logistics cost of managing multiple different scaffolding systems.
Performance Comparison Overview
Performance Dimension
Ringlock Scaffolding
Cuplock Scaffolding
Node Structure
8-port rosette with wedge pin
Upper/lower cup with ledger blade ends
Flexibility
⭐⭐⭐⭐⭐ (Excellent, for any complex geometry)
⭐⭐⭐ (Good, primarily for orthogonal structures)
Erection Speed
⭐⭐⭐⭐ (High overall efficiency on complex jobs)
⭐⭐⭐⭐⭐ (Extremely fast on simple structures)
Load Capacity
⭐⭐⭐⭐⭐ (Exceptional, for heavy-duty shoring)
⭐⭐⭐⭐ (High, meets most general construction needs)
Core Applications
Industrial, Energy, Shipbuilding, Venues, Bridges
High-rise facades, Municipal bridges, Interiors
Long-Term ROI
Excellent for companies with diverse portfolios
Good for companies with specialized operations
Final Selection Recommendations
In summary, there is no universally "best" system. The optimal choice is derived from the precise matching of system characteristics with project requirements.
Scenarios Recommending Cuplock Scaffolding:
The project primarily involves standard high-rise building facades, regular bridge pier construction, or large-area interior birdcage scaffolds.
The project prioritizes speed on structurally simple and repetitive layouts.
The company's business is relatively specialized, without frequent need for extreme scaffolding flexibility.
Scenarios Recommending Ringlock Scaffolding:
The project involves complex industrial installations (e.g., oil & gas, power), shipbuilding and repair, irregular architectural surfaces, or large-scale performance stages.
A high-strength, heavy-duty support system is required, such as for cast-in-place concrete slabs or heavy equipment platforms.
As a comprehensive engineering firm, the goal is to use one standardized, universal asset to address diverse market demands, thereby maximizing return on investment.
In conclusion, both Ringlock and Cuplock scaffolding represent outstanding achievements in modular construction technology. Only through a thorough analysis of project needs, combined with a deep understanding of the core advantages of each system, can a truly rational, economical, and safe engineering decision be made.
FAQ
Can Ringlock and Cuplock scaffolding components be mixed and used together?
Absolutely not. This is a critical safety issue. The locking mechanisms, node point dimensions, and component specifications of Ringlock and Cuplock systems are fundamentally incompatible. Attempting to mix components from these two different systems will result in unstable, unsafe connections that fail to meet manufacturer specifications and regulatory standards (e.g., OSHA). Doing so would create a significant risk of structural failure. Always use components from a single, consistent, and compatible system.
Is one system inherently safer than the other?
No. The safety of a scaffolding structure does not depend on whether it is Ringlock or Cuplock, but on the quality of its installation and use. Both systems are exceptionally safe when designed correctly, erected by trained professionals according to the manufacturer's guidelines, and subjected to regular inspections. Safety is a function of proper training, correct assembly, and adherence to engineering plans, not an inherent quality of one system type over the other.
Read More
What is ringlock technology in scaffolding?—— QUORA
What is Cuplock Scaffolding?—— QUORA


 en
en fr
fr es
es